Pages

Search This Blog

Showing posts with label Online Card Classes. Show all posts

Tuesday, July 9, 2013

Summer Card Camp, Day 1!

I'm back... I have been neglecting the blog lately, which is part of the reason why I signed up for Online Card Classes' Summer Card Camp 2.  I didn't take Summer Card Camp 1, but I'm excited nonetheless.

Yesterday was our first day of class, so I have some homework to show off to you.

This first card is a simple one that uses the colors suggested to us for the first week, but none of the sketches.      Those chevrons are stamped in grey ink and then the spaces are colored in with Copics.  (Side note:  Whenever I hear people say "Coh-pick", I always think of The Cutting Edge and "Toe pick!"  Anybody else?)


The second card follows one of the sketches almost exactly, and I used Jennifer McGuire's technique of making the banner be the entire front of the card, so that is the part that opens.  I also used her technique of layering the die cute, in order to give it a little more dimension.
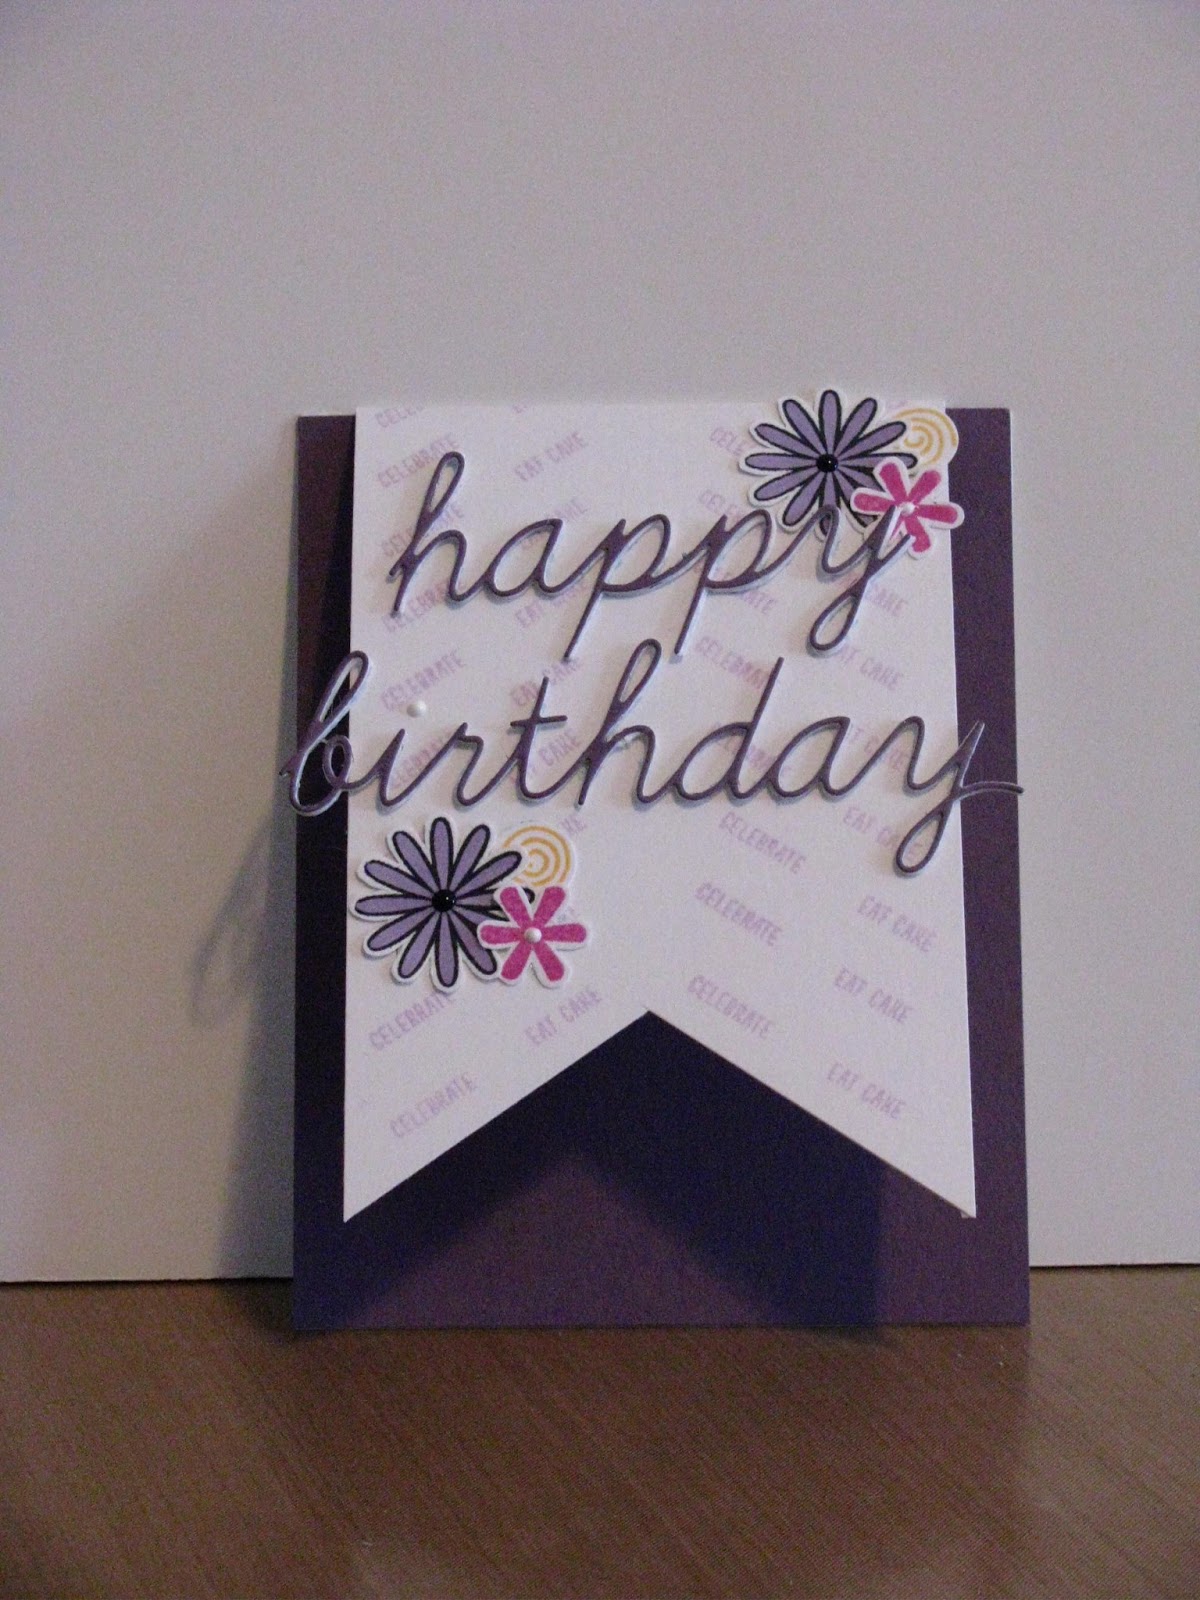

Sorry these pictures are a little dark... a friend is working with me to take better pictures, and teach me how to use my camera.  In the meantime, though, be thankful they are in focus! :)


Friday, March 22, 2013

Pattern Play, Day 3

I'm a little behind on my home work for the Pattern Play class over at Online Card Classes, but here's what I did with Kristina's technique from day 3:


I have tons of this paper lying around - I got it in packs of 99 cent paper from Blick, and have had no idea what to do with it.  The patterns are really bold and sparkly, and the paper is really thick and kind of home-made.  It's hard to cut into, and hard to use.  But I think making it the focal point of the card, and splitting up the pattern a little is a really good way to finally get some use out of this paper!

I'm off to try to catch up a little more on the "homework".  This class is a challenge for me, as someone who likes my cards clean and simple, it's hard to figure out how to make the patterns fit in.


Tuesday, March 19, 2013

Pattern Play, Day 2

Hiya!  I glanced at the instructions and sketches for Day 2, and whipped up this quick card using the techniques learned in Day 1, and the idea of stamping on patterns from Day 2.

I made this card for my partner, who is also a librarian, but unlike me, actually has a job - and got a promotion and a raise today.  I thought these papers from Lawn Fawn's Dewey Decimal collection would be perfect!


Pattern Play, Day 1

It's time for another Online Card Class, this time we're learning about how to use patterned paper.  Just like many others in the class, I buy tons of patterned paper, but tend to put it aside in favor of stamps or just plain white.  Plus, it comes with all my card kits, and I never know what to do with it!


For the first day of class, we talked about some basic principles of combining patterns.  I'm not good at coming up with sketches/layouts on my own (that's a class I need!), so I used the same layout as Kristina Werner did in her video to make a Passover card requested by a family member.  I used paper from Indie Bloom by Basic Grey, and stamps from Papertrey.


 And here's another card where I used some patterned papers, though not as copiously.


See you tomorrow for day 2!


Wednesday, January 30, 2013

Clean and Simple Card Making, Day 3

I was excited to see today's lesson, because it was all about using different stamping techniques.  I'm a beginning stamper, so it was great to learn about some new techniques.

When I went to use my own ideas and supplies for a card, it was a little challenging, as I didn't have the "recommended" supplies for the class.  But I was able to make it work, and this is what I came up with, using a gradient technique:


This was made using hand made stamps I bought from StudioMo on Etsy.  I'd been itching to use them, and so glad I finally found an excuse!  Also, I didn't have embossing powder or materials, so I stamped the "Miss You" lightly with white pigment ink, and then just traced over it with my white Signo pen.

I'm off to try some more of the techniques we learned today!


Tuesday, January 29, 2013

Clean and Simple card making, Day 2


I'm catching up slowly by slowly on the card making class!  Day 2's lesson was about making one layer cards, and using masking and watercolor techniques to make them stand out.  Making the card below was, for me, an exercise in figuring out how to use what I have instead of fancy tools I can't afford.

So, instead of a die cutter, I used a circle cutter (if I had had more patience it would have been an exacto knife, but, well, it's late); instead of sticky backed paper, I used card stock and respositionable adhesive that I don't use much; instead of making an embellishment out of an epoxy sticker, I colored in a stamp with my Glaze pens.  By the way, I love those Glaze pens.  The local craft store told me they weren't selling well, so maybe I'm the only one who loves them, but I just think they are genius and so much fun.

I kind of hate using up my stamp ink on filling in stencils though, and I don't have enough materials to really do it right.  I wonder if I could use colored pencils or watercolors instead?

Here's the card:  I don't love it, but it's sort of cute.  Let me know what you think!


Clean and Simple Card Making Part 2, Day 1

I found a great online class on Clean and Simple card making, and for day 1, we learned some tips on craftsmanship and some other techniques.  Our homework was to create a card based on some of the techniques we learned.  (I'm a little behind, as the class started yesterday.)


So here is the card I came up with, which combines several of the techniques.  I wasn't sure what to put on it, and then remember that I was intending on making some Passover cards, so I thought I would try out the techniques on one!


Can't wait to see what day 2 has in store!